Data Display
This week’s guidance will be all around different methods you can use to display data back to the users of your application. We will be implementing a DataGridView control and going over different methods of loading information into the DataGridView.
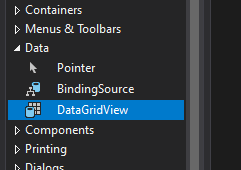
Getting to know the DataGridView Control
The DataGridView control like all other controls exists within the Toolbox, specifically it can be located within the ‘Data’ subsection. You can see a screenshot of this below.
To implement this control drag it onto your form and remember to apply an appropriate name, in this case I have called it dgLogins as I will be implementing it to show all of the users who have a login to the application. Bear in mind that this isn’t the best implementation, as it wouldn’t normally be necessary to reveal all login details at the beginning of the application.
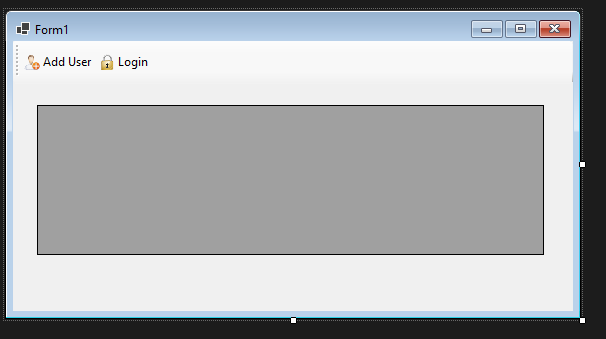
The new control you can see in the screenshot above. There is nothing exciting about it and it shows absolutely nothing at the moment - that’s where you come in.
The DataGridView control allows you to display an Excel style grid view of live data from your data source, in the case of this tutorial series that will be an SQLite database. Although I have mentioned live data you can also add your own columns, additional controls such as dropdown options and buttons and act upon these accordingly. To reveal additional configuration options click on the new DataGridView control to reveal a small right hand arrow.
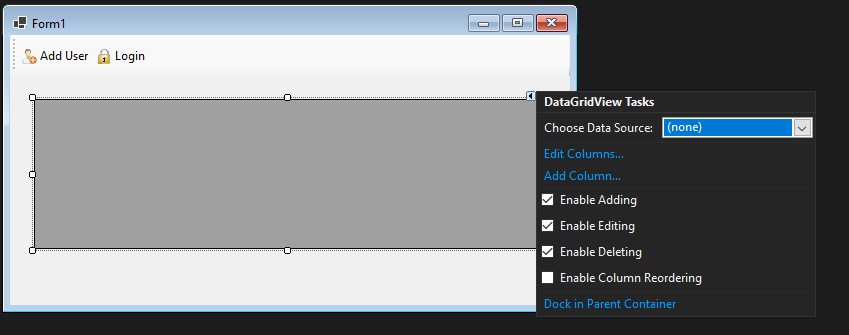
Clicking this arrow reveals additional options such as the Data Source, and the ability to add and edit columns as well as additional settings which control how the user can interact with the DataGridView. You can leave these for now as we will be connecting the data using our Data Models manually.
Displaying Data
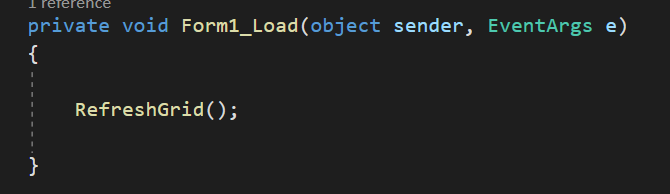
To display data in our new DataGridView control we need to decide on when we would like this data to display. I’ve already made that decision and I would like it to load as the form loads so that it’s available for me straight away. To make this work then I need to apply some code that will gather the data and display it within the control when the form loads.
To do this double click on the title bar of the form, in this case it’s called Form1. This will reveal a new code block which looks like below.
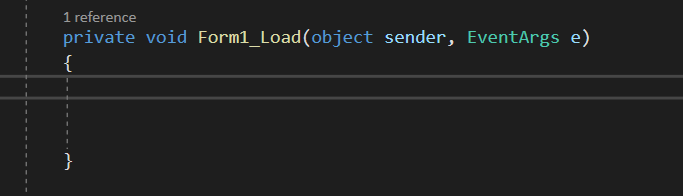
This code block will run as the form Loads as you can see from the action assigned. We can use this to populate our DataGridView, so any additional code being added will go within the curly braces for this block. Start by adding your DataContext and the conditional statement that we have used throughout this series so far to ensure that we are actually connected to the database.
var context = new DataContext();

// if the connection to the database is successful
if (context.Database.CanConnect())
{
     // any code related to data will go here now

}
You should be familiar with this code by this point. Anything that we implement from this point forwards will now be placed within the code block for the if statement, this has been marked with a comment in the sample code above.
The next step is to use our DataContext to collect some data from the database which can be used to populate the DataGridView.
// get the first 100 results
var result = context.Login.Take(100);
var listResults = result.ToList();
The code above collects the first 100 results from the table, if there are only 2 this will be 2, if there are 101 then this will still only return 100 results. This Take(100) parameter allows us to apply a limit, this should be used for efficiency.
The second line converts our results from the database, initially stored in a variable called result to a List. A List is a datatype which is used in many programming languages. It’s one of the datatypes accepted by the DataGridView control and will allow us to pass data direct from the database into the view. You can read more about a List here.
Once we have converted to an acceptable data type we can tell the control to use this data as its data source.
// set the datasource of the control
dgLogins.DataSource = listResults;
Running the application now gives the results - these load as soon as Form1 loads as i’ve used the Load action as previously discussed.
Maintaining Live Data
The data isn’t currently live, it is displaying everything from your selected data source. However let’s now explore what happens when a New User is added to the application. Running through the Add User form, I have added a new user called Ronald.
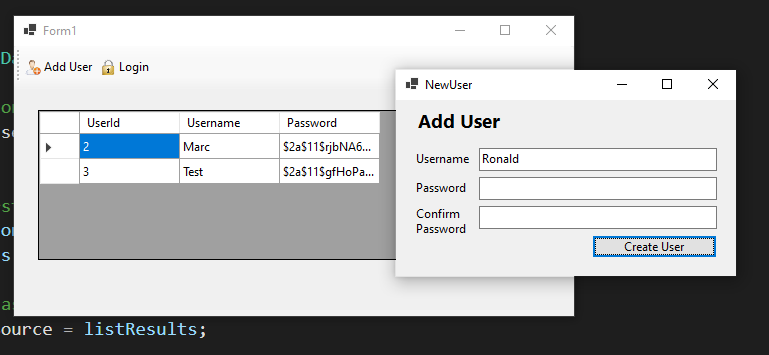
After creating the user i’ve closed the NewUser form. The DataGridView has not refreshed. This means that although Ronald now exists as a user in the database his information is not showing in the DataGridView that we added earlier.
To deal with this there are several options. As I know, in this example, that the DataGridView is always going to sit behind the NewUser form the easiest way to implement a fix would be to do this as the NewUser form closes.
To create a code block for this action visit the Form Design.
Open up the properties panel for the form and then click on the Lightening bolt, which will open up the Actions panel for this form. This would usually be positioned at the bottom right hand side of your screen.
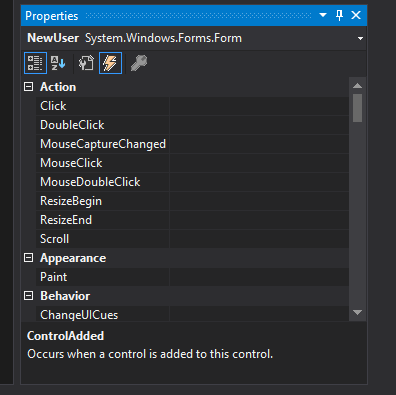
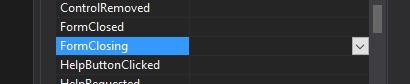
Scroll through the options and look for the FormClosing action, this will be blank. Double click in the blank entry which will create a blank code block for you enabling you to carry out an action when the form is closed by a user.

We can now add some additional code to this code block that will refresh the DataGridView as we close the New User window. However before we make these changes we need to make our DataGridView accessible within the AddUser form.
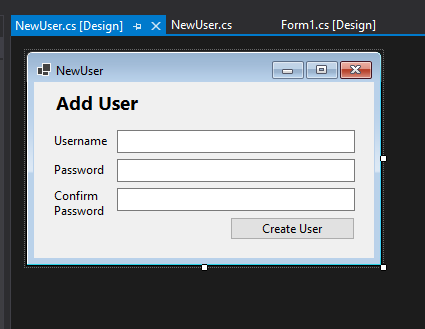
To do this open your AddUser form and find the Contructor, it looks like this.
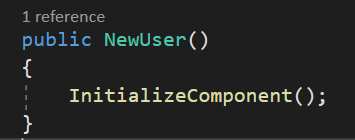
Before the first line add the following line of code.
private Form1 mainForm = null;
This creates a private variable which we will use shortly to allow our application to access the data within the main form. Next within the curly braces for the Constructor, add the following line of code below the existing InitializeComponent(); line.
mainForm = callingForm;
And then adjust the function to pass in Form1 callingForm. You should end up with your constructor code looking like below.
private Form1 mainForm = null;
public NewUser(Form1 callingForm)
{
     InitializeComponent();
     mainForm = callingForm;
Now return to the MainForm, this will be the form that you use to Open the NewUser form in my example and locate the code which opens the form. Add the word this into paranthesis - like below.
private void tbtnNewUser_Click(object sender, EventArgs e)
{
     var newUserForm = new NewUser(this);
     newUserForm.Show(this);
}
The this keyword passes an instance of the current object (in this case Form1) to the NewUser form which allows us to access elements within it.
Reusing Code
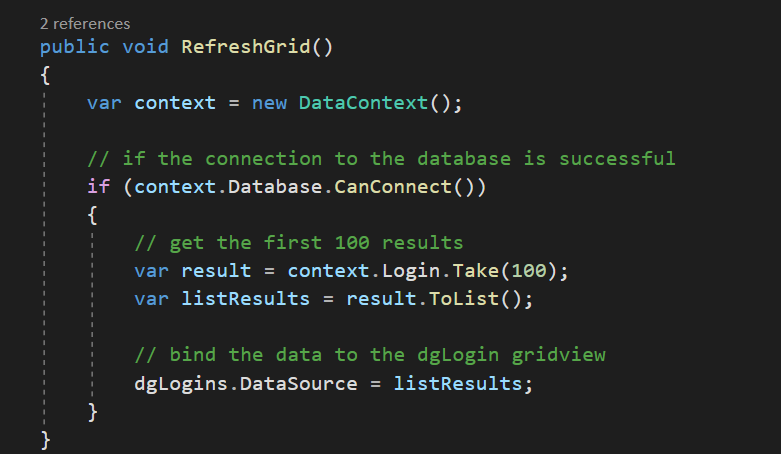
To make the update process easier we’re going to move our code which loads the data into the DataGridView into a new function. Start by locating that code. It looks like this and will be located in the code for your main form (Form1 in my example)…
var context = new DataContext();

// if the connection to the database is successful
if (context.Database.CanConnect())
{
      // get the first 100 results
      var result = context.Login.Take(100);
      var listResults = result.ToList();

      // bind the data to the dgLogin gridview
      dgLogins.DataSource = listResults;
}
Cut this code from it’s current location and create a new function called RefreshGrid() in the same file which contains this code. You should end up with something like below.
Replace the code where you took it from (where you removed it) with the following…
This will now run the same code but also makes it reusable. You should now return to your NewUser form. Return back to your new action code for OnClosing and add the following line of code.
// run the refresh functionality from the main form
mainForm.RefreshGrid();